Computer communication via internet only can work if TCP/IP working properly. I’m sure you have seen after many ipconfig/renew/release and flushdns and REBOOT still PC cannot get IP. In my experience this is related to corruption in TCP/IP and of course you need to check the cable or WIFI is connected before all of this 🙂
Anyway here is how to reset those corrupted TCP/IP stack and make sure to reboot the PC after reset and RUN the command prompt in ADMIN mode.Also if you have static IP, remember to note them down, because this will wipe those out!
Before all of this in my experience resetting socket also can fix many ip stack related issues and here is the command.
If you are familiar with PENTEST and Kali linux platform, you should know nmap which is great vulnerability scanning tool. But recent version of kali has dropped ZENMAP which is GUI base for nmap which great tool to run nmap in GUI and also to generate command line to run on nmap.
Few of my blog readers mentioned to me that after Kali 2020.4 my previous method of installing Zenmap no longer works. So after breaking few VM images and few swear moment I was able to figure out a way to install Zenmap GUI in new Kali. 🙂
Then bring up terminal from the place downloaded the tar package and run sudo su and get the root access. After that run below command in sequence. Very good guide here https://nmap.org/book/inst-source.html
apt-get updatebzip2 -cd nmap-7.91.tar.bz2 | tar xvf -
cd nmap-7.91
./configure
make
su root
make install
then install each package with dpkg -i <each package name from above>
As a example dpkg -i ./python-cairo_1.16.2-2ubuntu2_amd64.deb
Once you down you will be able to see zenmap from search window in kali. But if you want to run Zenmap as root you need to brows into place where tar package got unzip. In my case download folder nmap 7.91 and bring terminal and run sudo su and then ./zenmap.
apt-get update apt-get install alien cd to the download folder where you download zenmap sudo alien “zenmap-7.80-1.noarch.rpm” sudo dpkg -i “zenmap-7.80-1.noarch.deb”
So if you are one of the user has mcafee antivirus, specially the drive encryption enabled, you will run into issue upgrading Win 10 patches or upgrade. Usually the error pretty similar to below,
So solution would be upgrading OS via mcafee switch enabled via CMD. Here is what I did,
*****Copy Windows update to C: folder called updates( This was 1903 update and I downloaded it as ISO from Microsoft site and then mount and copied to the folder)
******Then bring up CMD as administrator and type cd c:\update, which change the directory.
These days more and more PC/laptops comes with SSD drive and most of them are either 128 or 256 and some are even smaller drives. If you are one of the user don’t want top pay for more storage with iphone and backing up your phone to PC, you will face some challenge with drive space. Specially with ever expanding iphone storage size.
Issue is itunes saves this backups under userprofile, usually in C drive. Solution would be change this location and point to a external drive or different drive. All the credit should goes to https://support.imazing.com/hc/en-us
I’m gonna list the Windows way first.
Usual backup location for iphone located under C:\Users\*current user name*\AppData\Roaming\Apple Computer\MobileSync\Backup
Navigate to folder and rename or delete folder called “backup”
Then Shift+Right click and select open powershell windows OR you can bring command prompt (go to run type CMD) and the type
cd C:\Users\*current user name*\AppData\Roaming\Apple Computer\MobileSync
****Note that above I send my backups to D:\ drive.
and you done!!
So now in Mac OSx
Bacup folder located under ~/Library/Application Support
Go to search and type ~/Library/Application Support/MobileSync/ and this will point to backup location and as previous Windows remove the folder called backup.
Then bring up terminal and type
ln -s /Volumes/location where the backup should go/MobileSync/Backup ~/Library/Application\ Support/MobileSync/Backup
I know once in a while windows UAC tend to interfere with application. I seen many issues with some ERP programs. You can simply disable UAC via control panel in Windows 7 but Windows 10 will not completely disable UAC via control panel. Because if it completely disable metro app will not work on Win10.
This is reg edit to disable UAC completely, if you ever have to fight with it to get application working.
Few days ago I was doing office 365 migration and I had strange issue with outlook not picking up auto discover settings. End customer was setup with godaddy imap mail and want to move to office 365. I can see from 365 panel DNS was setup correctly but whatever the reason, mail client was keep going toward contoso.com instead autodiscover.contoso.com ( Yes I pick domain right out of the Microsoft teaching : )
Finally I ran Microsoft connectivity analyzer and it spit out below error,
We got an unexpected autodiscover response. We can see that your mailbox is in Office 365. However, AutoDiscover service seems to have configuration issues that prevent Outlook to connect o Office 365. An intermediate web server at https://contoso.com/Autodiscover/Autodiscover.xml is interfering with AutoDiscover service and responding with incomplete data.
To work around this issue if your administrator can’t resolve the above soon, please take the following action:
Create an Outlook registry key to exclude the HTTPS root domain. For more information about how to do this, see the following Microsoft Knowledge Base article: 2212902Important Excluding the HTTPS root domain is not a long-term solution for this issue. This workaround is provided as immediate relief for it. As soon as your administrator resolves the above AutoDiscover issue, the Outlook registry key must be removed. You need to either remove or correct the AutoDiscover component from https://contoso.com/Autodiscover/Autodiscover.xml. If https://contoso.com/Autodiscover/Autodiscover.xml is managed by a web hosting provider, please contact them, and make sure that the web server is not responding to Autodiscover requests.
I read through several auto discovery troubleshooting article but none point to correct solution but after few read through I found a article at go daddy portal https://ca.godaddy.com/community/Managing-Email/cPanel-and-Office-365-Autodiscover/td-p/27832 which point me to correct solution. Also last part of the above error log point to godaddy setup instead actually 365 or dns config error.
So this issue cause by godaddy cPanel pointing all mail request to particular domain to thier internal hosting server. I’m not sure why godaddy do this but again I’m not admin for godaddy.
Also this also cause headache if you are current office365 customer via godaddy setup but if you decide to go to office 365 and host your mail. Because I seen many posting related to issue with moving from godaddy version of 365 to MS direct office 365 exchange. But surprisingly godaddy tech support has no clue and also MS support. Ms support solution would be adding a reg key to stop going https look up for autodiscover but this won’t solve the problem with mobile devices.
Okey enough with rant and here is the solution,
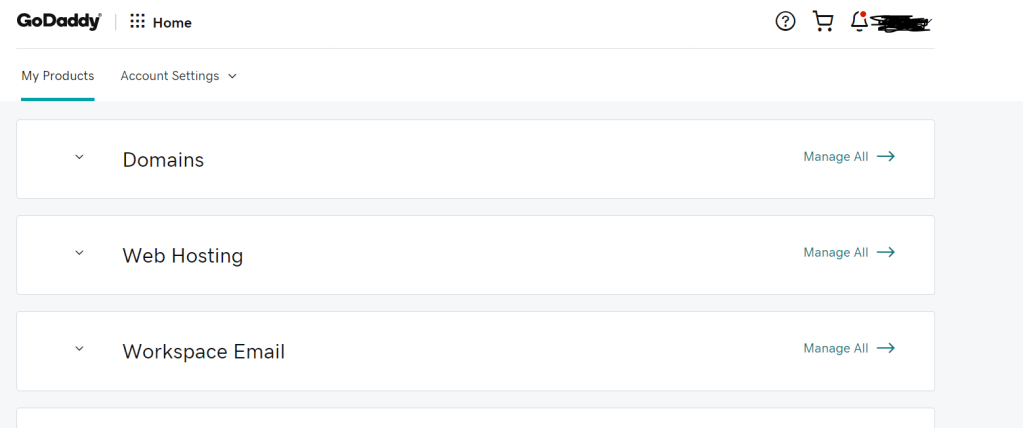
Log into godaddy and from My Product page click mange next to domain hosting
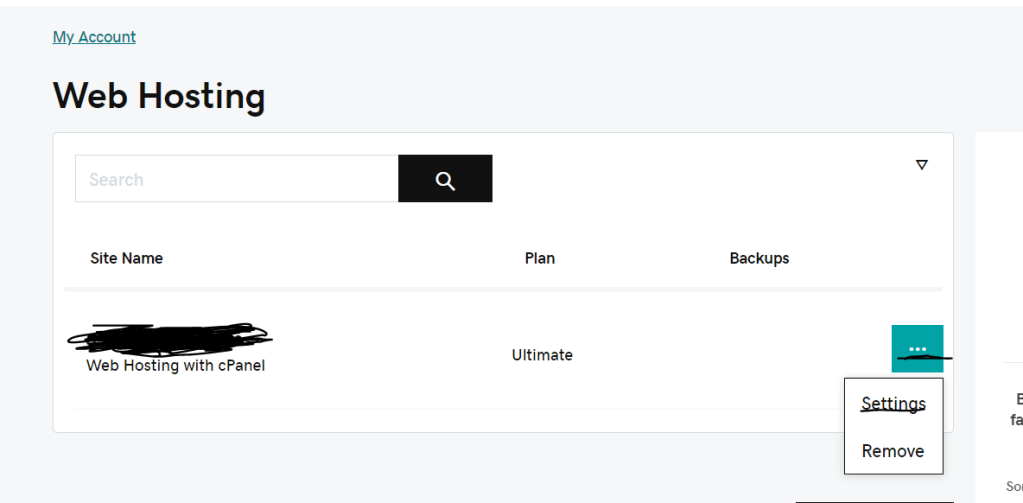
Click on three dot and click on settings
Then click on cPanel admin
Then you will end up in cpanel and then go to email section and click on Email Routing
once you there configure email routing and select Remote Mail Exchanger and change.
Also you can click on Zone editor and edit correct MX entry and point that to office 365 mx entry.
After that mail client will point to correct place without and issue.
First need to enable SSH access fro ESXI host via ESXI firewall
Once you done that connect to ESXI via putty and run this command
ls -lha /vmfs/devices/disks
This will list all the all the disks in datastore and make sure to mark down the datastore ID. Its is something like naa.1234abcd1234XXXXX. Be careful not to choose wrong data drive!!!
Then run this command
partedUtil setptbl /vmfs/devices/disks/ < ID from the disk that you copied above> msdos
After that you will be able to create data store without an issue.
I had a situation where whatever the reason when I sent command to uninstall webroot from cloud console AV will not get removed from the PC. It was annoying and solution from webroot support tool didn’t work and here is the one of the solution I found. Unfortunately, you will have to boot machine to safe mode.
First boot the PC to the safe mode. If you are doing this remote, you can use remote software to boot the PC to the safe mode too. This will save you on site visit 🙂
Recently I had situation that I had to setup direct RDP access to PC behind firewall. I know some of you think why you did that but the issue was application user was using wasn’t displaying properly any other remote software. Yes, I did all of those remote software and none work. But you know you cannot use usual 3389 RDP port it is known security issue.
So here is how setup non standard port for RDP access.
First go to System properties and enable RDP access
After that go to run in start menu and type regedit.exe this will bring up registry editor and navigate to
When you open port number switch the base to decimal and enter port that you are prefer. I mean of course valid port.
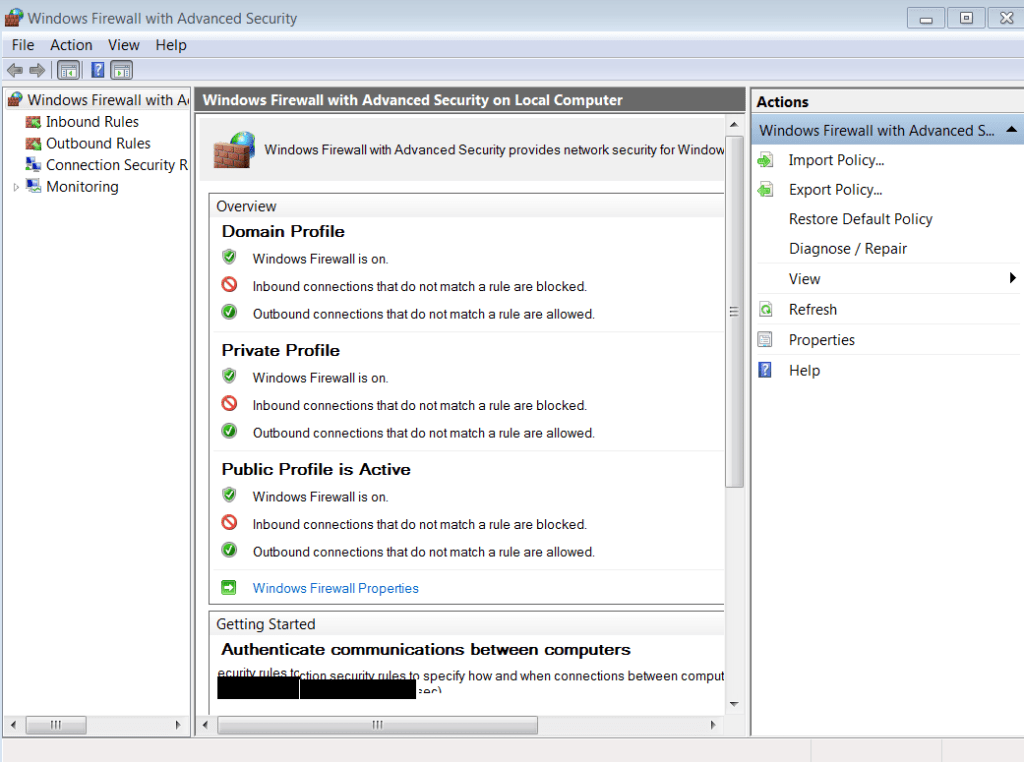
Now you have to go to control panel and firewall and allow inbound and outbound for port that you need. I don’t know how many time I forgot to do this step and tried to rdp and got rejected 🙂
Click on advance and create inbound and out bound rule for the port that you created.
Make sure to restart the PC.
Of course if you are doing RDP from outside you will need DNAT rule or port forward rule on firewall.This is a topic for another blog I guess!